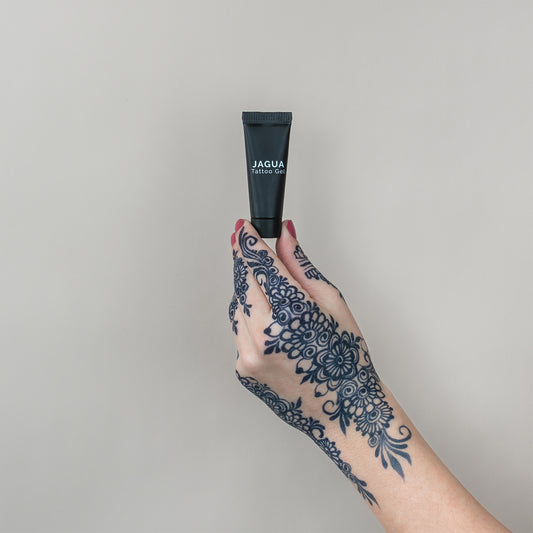
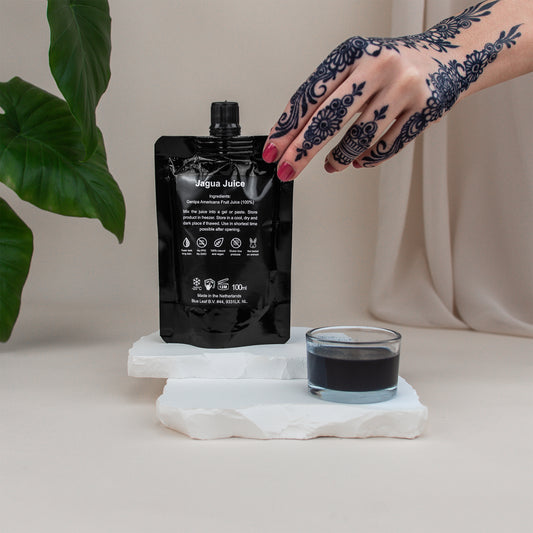
In this article we'll show you how to create your own Jagua gel with our Jagua Juice. Jagua Juice consist of 100% freshly squeezed Genipa Americana fruit juice, which is also known as Jagua ink.
Because it has a watery consistency, it is not suitable to apply directly to the skin. Follow our recipe to mix it with the necessary ingredients, so you can start creating beautiful dark temporary tattoos that lasts for up to two weeks!
Create Your Own Jagua Gel
In this guide, we’ll show you how to make your own Jagua gel using our 100% fresh Jagua juice, made from the Genipa Americana fruit.
Because Jagua juice has a watery consistency, it cannot be applied directly to the skin. By mixing it with a few simple ingredients, you can create a smooth gel that lets you craft beautiful temporary tattoos that last up to two weeks!
Ingredients to Create Jagua Gel
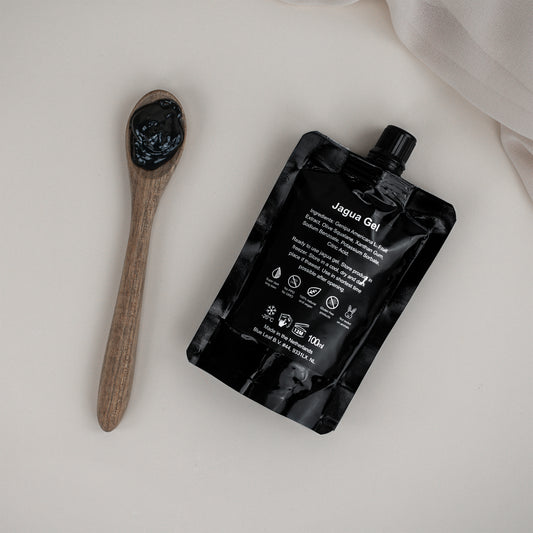
To make Jagua gel from juice, you only need three ingredients:
- 100ml Jagua juice
- ±5g essential oil
- ±2.5g xanthan gum
Tip: For larger batches, simply increase the quantities proportionally.
Materials You’ll Need
To keep your gel fresh for longer, always use clean tools. Jagua juice can stain surfaces, clothing, and skin, so take precautions in your workspace.
Recommended materials:
- Scale to weigh ingredients
- Cups & mixing bowl
- Spatula for mixing
- Nitrile gloves to protect your hands
- 125ml applicator bottle to store your gel
Mixing Instructions
Making a smooth Jagua gel from juice can take a little practice, but these steps will guide you:
- Choose suitable mixing bowls and cups. Use one larger bowl for the juice and two smaller cups for the essential oil and xanthan gum.
- Weigh all ingredients accurately using your scale. Place a cup on the scale, press “tare” to reset to 0g, and measure precisely.
- Mix the xanthan gum with the essential oil to form a paste — this prevents lumps when adding it to the juice.
- Gradually add this mixture to the Jagua juice, mixing thoroughly after each addition until you reach the desired thickness. You may not need all the xanthan gum, as its thickening effect can vary depending on conditions.
- Let the gel settle for at least 30 minutes, ideally 24 hours.
- Mix thoroughly again to remove any lumps. This will likely result in a beautiful dark color!
For more details, you can watch our video instruction:
After Mixing
Once you’re happy with your gel, transfer it to an applicator bottle or cone for easy storage and use. Make sure to store it in conditions that preserve its quality — see our guide here:
[How to Store Jagua Products]
Now it’s time to put your self-made Jagua gel to the test! Create temporary tattoos and observe how the stain develops over time — this helps you improve your technique and recipe with each attempt.
Don’t forget to share your creations on Instagram or other socials — we love seeing your designs!
Takeaway:
Making Jagua gel from juice is simple and rewarding. With clean tools, precise measurements, and a little patience, you can create a smooth, high-quality gel for stunning, long-lasting temporary tattoos.